Getting started with Chef
If you never heard of it, Chef is a server automation tool for server management tasks. It is often related to the terms DevOps and Infrastructure as Code which have started to gain quite a bit of attention lately. If you’ve ever seen yourself doing the exact same steps, like installing MySql on a server several times in a row, always doing the exact same steps, and wondered if there was a more intelligent way of doing that, then Chef is for you.

No, not this kind of chef :)
This is not the only option available. Other well known tools include Puppet and Vagrant. The latter, though, being targeted at virtualized development environments, while the former, are targeted at real (production) machines.
So, ‘nuff said, here are some notes I took from my first time playing with Chef. It was far from being a straightforward process, that is why a good old blog post comes handy. Turns out it was pretty painful just to get it started, and I didn’t even get to the part where you prepare the recipes and cookbooks (hmmm :)).
So to get started, I fired up a brand new clean Ubuntu 12 instance in Amazon EC2. If you need help doing that, there are plenty of documentation online for how to get started on AWS. Go there and search, I will wait here.
Ok, so now that you have an instance up and running, connect to it via ssh (tip: you will need the private key file .pem):
ssh -i <path_to_your_pem_file> ubuntu@ec2-xx-xx-xxx-xxx.us-west-1.compute.amazonaws.com
Install chef-server. There is a wiki for that here. After you run apt-get install chef chef-server, most likely, at t he end, chef-server will fail to start (at least that is what happened to me)
Ok, if you try to start the server manually via the command chef-server, then it might end up exploding with this error:
NOTE: Gem.activate is deprecated, use Specification#activate.
It will be removed on or after 2011-10-01.
This is basically saying that you are using the wrong version of ruby and/or rubygems. The plain ubuntu install only comes with ruby 1.8 installed which is probably not what we want. So we’ll install rvm and ruby 1.9.
But, before that, let’s install some dependencies:
Run this to install some required packages that you gonna need… some of them are probably not needed for this, but it wont hurt to install them anyways.
sudo apt-get install build-essential bison openssl libreadline6 libreadline6-dev curl
git-core zlib1g zlib1g-dev libssl-dev libyaml-dev libsqlite3-0 libsqlite3-dev
sqlite3 libxml2-dev libxslt-dev autoconf libc6-dev -y
Done that, install rvm, ruby and some required gems:
curl -L https://get.rvm.io | bash -s stable --ruby
gem install yajl-ruby -v 0.7.7
gem install chef
gem install chef-server
At this point, you should be able to just run chef-server see it running. If all goes well, you might want to do chef-server -e production -d to run it in production environment and daemonize, so it runs in background. You will also need to start the webui via chef-server-webui -e production -d. If all goes smoothly, you should be able to access the webui at http://ec2-xx-xx-xxx-xxx.us-west-1.compute.amazonaws.com:4040/. As you probably noticed, the webui runs in the port 4040, while the chef-server runs in 4000. Don’t forget to open these ports in the AWS Security Group and allow your machine IP to access them! But wait, this was only the start hahah! Now comes the server configuration…
If you are still following the wiki steps (you should), by now you should be running knife configure -i. Knife is chef’s command line configuration tool, it can do a lot of stuff. This is gonna try to create an API user. If you are unlucky, like me, you will see this error:
Creating initial API user...
ERROR: Server returned error for <a href="http://ec2-50-18-239-212.us-west-1.compute.amazonaws.com:4000/clients/ubuntu">http://ec2-xx-xx-xxx-xxx.us-west-1.compute.amazonaws.com:4000/clients/client_name</a>, retrying 1/5 in 3s
...
This probably means chef cannot connect to RabbitMQ (the guy that does the messaging between chef components). To double check, run this:
sudo rabbitmqctl list_permissions -p /chef
… and you should see this error:
Listing permissions in vhost "/chef" ...
Error: {no_such_vhost,<<"/chef">>}
So this is how you fix it:
sudo rabbitmqctl add_vhost /chef
sudo rabbitmqctl add_user chef <password>
sudo rabbitmqctl set_permissions -p /chef chef ".*" ".*" ".*"
Gotcha: The rabbitmq password has to be the same one found in /etc/chef/server.rb config file (mine was ‘root’)
Ok, this should get you all set. Last step, verify the knife configuration running knife client list. And guess what?! More errors!
ERROR: Your private key could not be loaded from /home/ubuntu/.chef/ubuntu.pem
Check your configuration file and ensure that your private key is readable
This happened to me because when I ran knife configure -i, I set as the new username, a username that was somehow already in use (ubuntu). So the solution was to run it again and set a different new username when asked. This should create your API client and get you all set.
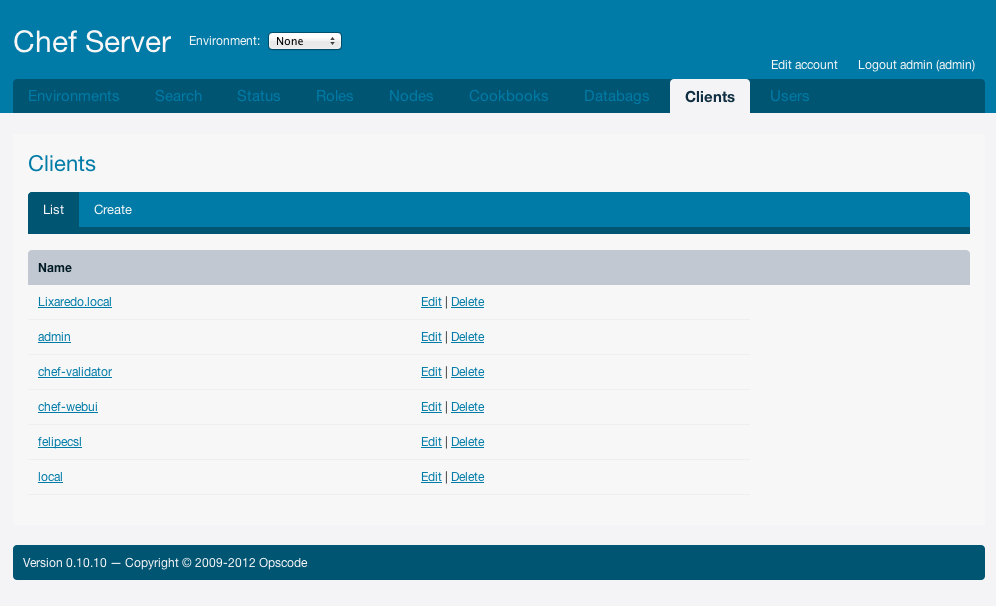
ubuntu@ip-xx-xxx-xxx-xxx:~/.chef$ knife client list
 Lixaredo.local
 admin
 chef-validator
 chef-webui
 felipecsl
 local
Ok here is another gotcha. If you ever turn off your instance and bring it back later, it will most likely change its public dns (***.compute.amazonaws.com…). Make sure you update it in your **knife.rb file or it wont work. Mine was located at ~/.chef/knife.rb
log_level :info
log_location STDOUT
node_name 'local'
client_key '/home/ubuntu/.chef/local.pem'
validation_client_name 'chef-validator'
validation_key '/etc/chef/validation.pem'
<strong>chef_server_url 'http://ec2-xx-xx-xx-xx.us-west-1.compute.amazonaws.com:4000/'</strong>
cache_type 'BasicFile'
cache_options( :path => '/home/ubuntu/.chef/checksums' )
Ok that’s it for today. Next time I will talk about recipes and cookbooks!